

I've always admired french macarons when I saw them featured on different cooking shows and recently read about them on the Bakerella blog that I follow. That's where I was pointed to read this guide to making macarons that I reviewed several times before trying to make them (written by the author behind the Tartelette blog, another fabulous food blog). Macarons are gorgeous when colored to match their flavor and almost look too pretty to eat. In fact, I hadn't even tasted a french macaron until I recently went to Florida and sought out Le Macaron in St. Armand's Circle when I went shopping with my cousin. I ordered a french vanilla macaron and talked her into getting a chocolate one to try and we were both so pleasantly surprised at the chewy texture and amazing taste!
So, here's my first go at macarons! After reading the macaron guide and checking it against a few other recipes, I made sure I had all my ingredients. Some recipes call for almond flour instead of using blanched almonds that you ground yourself. But, after seeing almond flour in the grocery store for almost $11 and realizing it was just ground almonds, I decided to put my food processor to use and just make it myself. There are very few ingredients and while some recipes used typical cup measurements, I chose to weigh out all the ingredients as recommended in the macaron guide to make sure I was making it with the exact amounts indicated. So, here are the four simple ingredients: 50 grams of superfine sugar, 200 grams of powdered sugar, 110 grams of blanched almonds and 100 grams of egg whites (a little less than three egg whites).


I used my Kitchenaid to whisk the egg whites and superfine sugar together until I had this nice thick glossy meringue. I was worried I may have beat it too much, but it seemed to work out just fine.

I ground my almonds in the food processor to make my almond "flour" and mixed it in the processor with the powdered sugar. This was added to my meringue and carefully folded in together to make the cookie batter below. This is the really tricky part as if you mix it too much, your macarons will not bake properly, so I was hoping I did it correctly.

I had to make it complicated, of course, so I divided the batter to make some plain macarons and some chocolate macarons. I added a few tablespoons of cocoa powder to the batter for the chocolate version.

This was a handy tip from Tartelette to place the pastry bag with the tip in a tall glass to make it easier to spoon the batter in. I searched high and low for the right tip to use. Ateco 807 or 809 was recommended (a BIG plain tube tip), but I ended up finding the Wilton 1A tip to use that worked just fine.

I also got these new tips when I was at the bakery supply store and can't wait to try to decorate cupcakes or a cake using these!

I piped the batter onto Silpat lined baking sheets that were about 3/4-1" in diameter and ended up spreading to about 1 1/2" diameter and they had to sit until they hardened on top (about an hour).

They baked at a low heat (300 degrees) for about 12 minutes and I was excited to see that it looked like they were baking perfectly! They rose just a little to have the "feet" on the bottom and a nice smooth top.


All my chocolate ones did end up cracking a little bit. They still tasted great, but it must have been due to adding the cocoa and mixing the batter further.

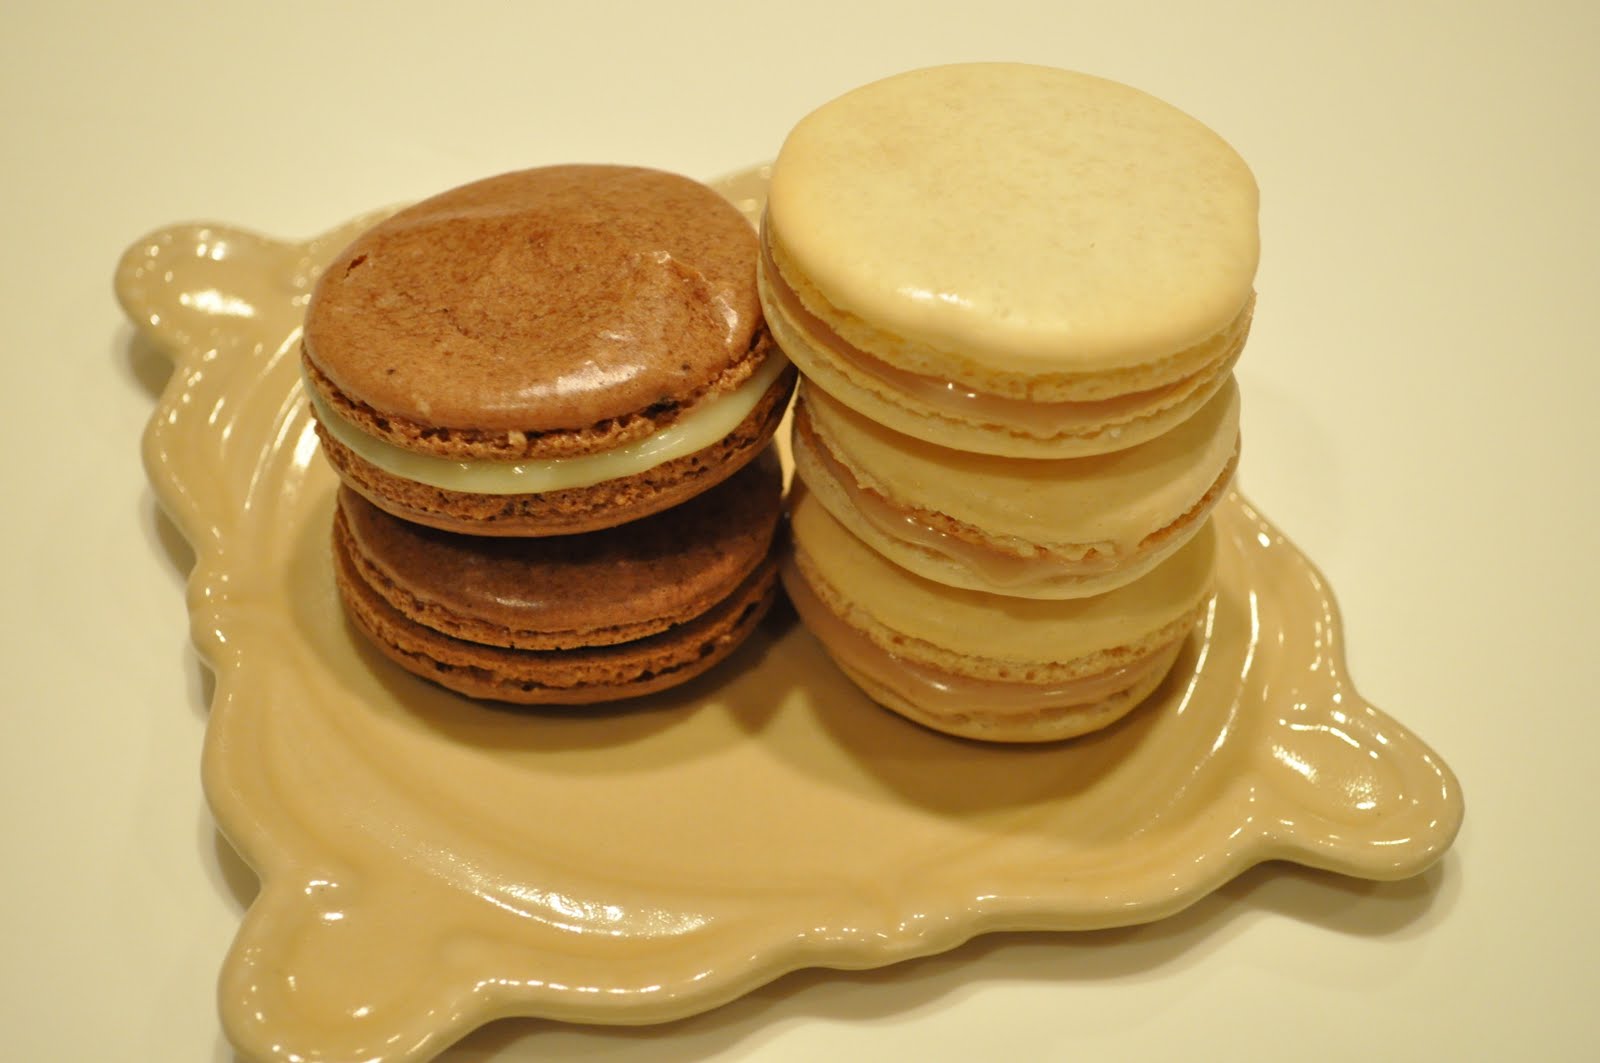
Now that the cookies were baked, I made some filling to make the sandwiches. I chose to make a white chocolate ganache. I made the plain ganache and then added a little bit of raspberry jam (after I removed the seeds) for a white chocolate raspberry ganache. I could have just spooned this over chocolate or vanilla ice cream at this point!


I added the plain white chocolate ganache to the chocolate and used the white chocolate raspberry ganache for the plain macarons. I did make a little chocolate mint ganache as well, but I preferred the lighter flavor of the white chocolate. After I assembled all the macarons, I put them in the refrigerator to set. While they weren't perfect, it was my first attempt and I was quite proud of the way they looked and very proud of the way they tasted - yum! You would imagine these being crispy cookies, but they are so nice and chewy and soft on the inside and the different fillings really add to the taste of the cookies. Next time I make these, I'll try to make some different flavored cookies and fillings to experiment more.


No comments:
Post a Comment