Showing posts with label food coloring. Show all posts

Wednesday, July 5, 2017

America's Birthday Cake


There are all kinds of themed 4th of July desserts, many using various fruits to emulate the American flag on a pie, sheet cake or other. I got a newsletter recently from Food 52, which I adore, and they had this amazing looking American Flag Cake recipe that I thought I just had to try. 

It was SO much fun to make. It wasn't quick or easy to make, but it was a lot of fun. I realized how time consuming it would be when they indicated it was five separate cakes to build this flag inside all these layers. 

I started on July 3rd in order to have this bad boy ready for America's birthday and finished it up in my day off on the 4th of July for us to enjoy after dinner that evening. 

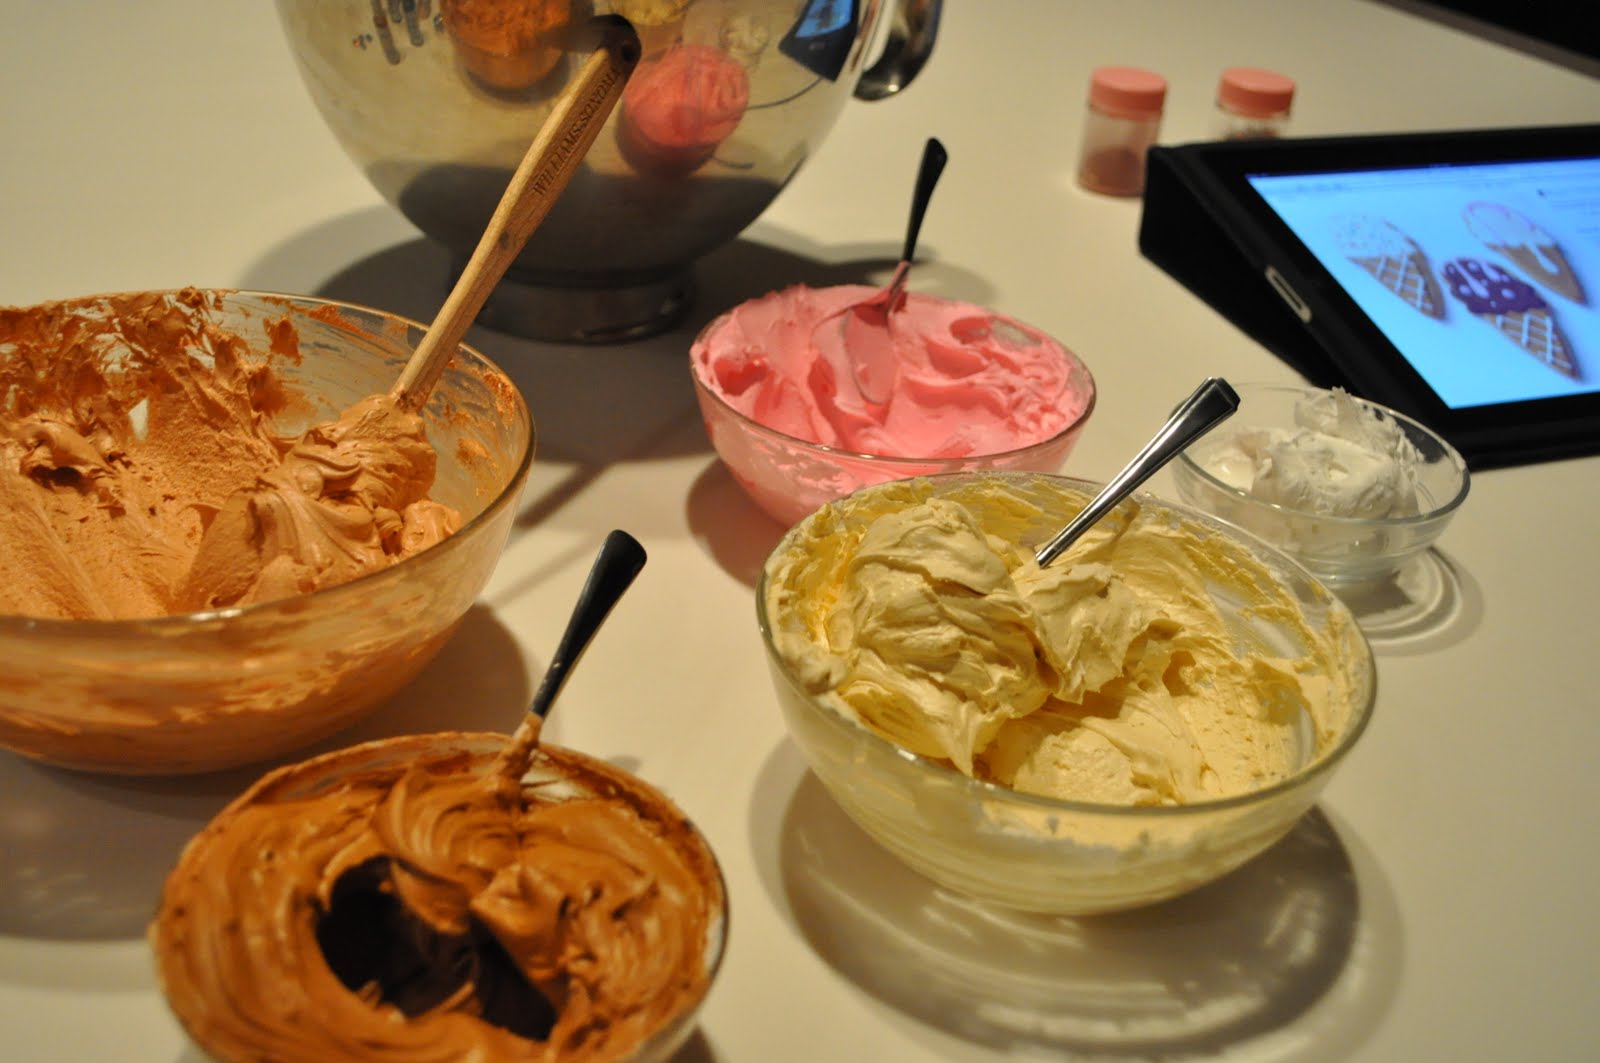
I'm not used to using so much food coloring. I used Americolor gel food coloring and probably used a few drops more than the recipe even indicated. I felt like I was making Sesame Street cupcakes all over again. Such pretty colors though! 


Look at how vibrant the red cake is! 


You have to cut each cake in two.  When I did this it seemed as if my cakes were not tall enough to cut, but I carefully did so without breaking them, thankfully. 


I followed the instructions in the recipe carefully to ensure I was layering hte right colors properly to make the flag. It started with red followed by a layer of buttercream. 


Red, white, red white to make the stripes. 


Then came blue. I should have cut the circle in the middle out less on an angle, but it still worked out ok. 


I filled in the blue circle with more red and white cake and it was ready to frost. 


It took me a whilte to frost with doing a good crumb coat layer, then I put it in the refrigerator for a while and did another layer.  I spun it around and put pressure down with the offset spatula to make a swirl on top. 


Then I did some fairly easy and simple decorations with red sprinkles and red hots.  After, the real reveal with this cake is on the inside!


When I cut into it and cut out a slice, the kids were amazed!


Not bad for my first attempt, but the blue layer was a little tilted with how I had cut the center out. 


Happy Birthday America! 


Sunday, February 13, 2011

Conversation Heart Cookies


I've needed a reason to bake lately and have been rather void of any creative ideas for fun baking projects.  When it came to signing up for a treat for my daughter's pre-school class, I would have picked cupcakes, but that was already taken, so I went for cookies.  I instantly knew what I wanted to make when I saw their classroom door. We wouldn't just make heart-shaped cookies, but conversation heart cookies.

Here was my inspiration:


We made our sugar cookie dough a day ahead to refrigerate and let it come to room temperature before rolling out.  We made some royal icing and picked lavender, yellow, orange, pink and green to frost our cookies.


They looked really pretty just like this, but we I simply had to make them conversation hearts.


  It's been done several times before so there was plenty cookies ideas to review out there.  There were lots of fun little sayings you can put on the cookies and we did a few, but primarily used their names for each cookie.  We made all sizes of hearts and used the smaller ones for the kids and the larger ones for the teachers. We did take a few shortcuts in making these, but they turned out just fine (especially for 2-year-olds). We did not line the edges when frosting the cookies. We also did not use the royal icing for piping the names. I had a red gel handy and decided to use that.  It was a little gooey to work with and hard to write with the tube, but it worked.

I bet the girls will be thrilled to give these to all their friends at their Valentine's Day party tomorrow!


Monday, September 27, 2010

Sesame Street Cupcakes


I've expanded upon the cupcake birthday party for my daughter's first birthday and focused on a particular theme.  She isn't really into many Disney or other characters, but definitely knows who Elmo and Cookie Monster are.  So, we had a Sesame Street birthday party complete with Elmo, Big Bird, Oscar the Grouch and Cookie Monster (see below) as the sweet treats.

I ordered special cupcake papers for each one. I had the solid colors for all of them, but used the fun Elmo ones for him.


After a huge batch of buttercream and a few bottles of food coloring, I used the star tip to pipe each color on to make it look like "fur." This was the easy part...


I used white chocolate fondant and colored it black for the mouth, used white circles for the eyes, orange for Elmo's nose and yellow for Big Bird's beak.  This was the difficult part....now it was time for the assembly of a few dozen happy monsters.

They were almost fully assembled the evening prior and brought out for the finishing touches (eyes and oscars red tongue) on the day of the birthday about an hour before it started.  Here are all the monsters on display before they were gobbled up.

Big Bird's beak was a little tough to get just right.


Cookie Monster was my favorite.


Oscar's eyebrows were a little hard to get just right, but he's a little messy anyway, right?

Elmo has a huge nose! Those that liked the fondant definitely chose him!


All displayed and ready for the taking.


Can you tell which one the birthday girl picked out?  Yep...that would be Elmo!


Friday, August 6, 2010

Summer Sugar Cookies


I've always typically reserved making sugar cookies for Christmastime.  However, I received some adorable ice cream cone and lollipop cookie cutters for my birthday in July and just had to try them.  I also have wanted to try being more fancy with decorating cookies and so here is my first attempt at that. It was fun with a little frustration mixed in and just took a lot longer than I thought it would.

I used the Martha Stewart sugar cookie recipe and as suggested, I shaped them into discs, wrapped them in plastic and I ended up chilling them overnight.  This whole process actually took me three days (evenings). One evening I made the dough, the next day I cut them and baked them and the next I made the icing and decorated them.

The cookie cutters had little indents for the details and weren't the easiest to cut out (I used lots of flour).  I put them on the silpat lined baking sheets and chilled them for about 10 minutes in the freezer.  I've skipped this step in the past, but I know it does help them to keep their shape when you bake them.

Here are the baked sugar cookies.  They were so pretty at this point with their detail.  Such innocent little sugar cookies that weren't yet globbed with icing.  They tasted pretty good just like this too, especially since I made them nice and thick.

Speaking of thick...my royal icing was thick.  I always grew up making the simple and syrupy royal icing with just powdered sugar and milk.  I probably just added way too much milk than necessary. This time, since I wanted to pipe detail on the cookies, I used the royal icing recipe from the Bake at 350 blog. This royal icing has meringue powder and corn syrup in it, which I'm assuming helps it hold its own for piping. She had great descriptive directions, but I think I may have overbeat it or something as it was quite thick.  It ended up working out, but when I piped the border on my cookies some of them started to crack...like meringue.

I got myself all set up...bowls of icing to make different colors, spoons and spatulas to stir, cookies lined up on sheets of parchment, food coloring and my iPad with some sites that had ice cream cookie decorating inspiration.

My icing was finally all colored to my satisfaction. I used AmeriColor Ivory for the vanilla ice cream, Americolor Warm Brown and Copper for the ice cream cone, AmeriColor Warm Brown for the chocolate ice cream and AmeriColor dusty pink for the pink dots and drips.

I found these squeeze bottles at Crate & Barrel and they are so handy for pushing through all the icing in the bottle and are easy to hold onto.  I used these for piping on the edging. I also have a few plain tall squeeze bottles that I used for the flood icing (to fill in the middle of the cookies).

The first step was to to outline the edges of the cookies with each color and then I thinned out each of the colors and filled them in.  At this point I realized that I had a) picked a rather difficult shape for my cookie decorating trial; b) baked way too many and I was determined to decorate them all and c) I was tired, but just had to finish the project as this was the third evening I was working on this.

I did just some plain sprinkles on some of them after I filled in the ice cream.

When I used the pink icing, I started doing some dots and cherry drips on top.  I also used the leftover ivory to make a "waffle" pattern on the cone. If you may have noticed, I don't have any photos of finished lollipops.  I did decorate the sticks with the same icing I used for the cones and then I did yellow lollipops with a pink swirl.  However, the swirl looked like more of a sloppy smear, so I chose not to share those, aside from my belly.

I definitely learned a lot and I think I'll try this again...maybe at Christmastime. I don't think I'm going to try to tackle Santa though. I'll plan to stick with stars, snowmen and Christmas trees.


Sunday, July 25, 2010

Jaffa Cupcakes


Aren't these the cutest little clementine oranges you've ever seen? They're not the real thing though. The real oranges are in the bowl in the background. These little cuties are made from marzipan! They were pretty easy and very fun to make. I decided to make these to top some cupcakes I was creating for my little brother's birthday.

He LOVES the English Jaffa Cakes which are these chocolatey-orangey (McVitie's terms) biscuits. We can find them in the U.S. now and I'm always buying him a box for his birthday or Christmas. We visited a cupcake shop together recently and he commented that nobody makes a chocolate-orange combination. So, I vowed to him that I would...and here it is! I made chocolate cupcakes with a homemade orange buttercream and topped them with my homemade marzipan crafted into tiny little clementine oranges.


Overall, they turned out quite good, but I did have a few hiccups (I mean learning experiences) along the way.
First of all, I think I filled my cupcake papers just a little too much. So, while they rose nicely and baked perfectly, they were a little too full and some of them stuck to the cupcake tin a little. They don't even look that full, but it's best to keep them only 1/2-2/3 full.


I also tried using these new cupcake papers called "If You Care." They are unbleached, which I thought was good and while I was trying to be a good environmentally conscious baker, they didn't work out so well. While they boast "better non-stick performance" that apparently not only meant they wouldn't stick to the pan, but also that the cake wouldn't stick to the paper. The cupcakes that I baked in these papers, were coming away from the paper and looked awful. I was lucky that I baked half of them in just plain white (yes, probably bleached) cupcake papers, but they turned out better (the one on the right).


Ok, so that's my venting about the cupcakes out of the way. Now onto the fun part - the little marzipan clementines.
I started with my smallest packet of frozen marzipan that I made from scratch earlier in the year. I thawed it in the refrigerator overnight and then let it come to room temperature the next day. As I did previously when I made the marzipan tulips, I reconstituted the marzipan using a little light corn syrup and it came together and was ready to mold in no time.
The first step was to make it orange, so I used an actual clementine orange as my subject and used AmeriColor Electric Orange (163) that was cut into the marzipan before I kneaded it. After having green and pink hands for a few days after coloring fondant for my birthday cake, I decided to wear some gloves to knead the orange color into the marzipan.

I was pretty happy with this nice bright orange color and molded it into a log first.

I cut the log into eight somewhat equal pieces.

Then, I cut each of the eight pieces in two and this was the size I used for rolling them into 16 little oranges.


One tip that I almost forgot about (and had to re-roll a few) was to place them on plastic wrap after molding them as it's pretty sticky.


I love this idea that I read about. To give the oranges their stem, I used whole cloves with the bloom from the middle removed.


Then they were rolled over my ceramic spice grater for the "dimpled" effect. However, I find that marzipan (especially homemade) has a little texture to it anyway from the ground almonds.

Here they are, my heaping bowl full of marzipan oranges. Now onto decorating the cupcakes...


I ended up making my own recipe for the orange buttercream. It ended up having a nice light orange flavor, but not too overpowering (see recipe below).
I piped on the frosting as I thought it would look nicer with the orange zest in it. While I definitely need to work on my piping skills (and am trying desperately to get into that course in culinary school), this was a little more difficult to pipe because it had a looser consistency with the orange juice I added in. Perhaps, I should have added a bit more powdered sugar to hold it together more, but it worked out just fine. I chilled the cupcakes overnight and it held together nicely. I just let them come to room temperature before I placed the marzipan oranges on top and served them.


While I learned a few things along the way, I was quite happy with my Jaffa cupcakes. My brother was too, but admitted that he felt I had gone through way too much trouble for him to just inhale it in less than a minute.
Recipe for Orange Buttercream:
2 1/2 sticks unsalted butter
4 cups powdered sugar
1 teaspoon pure vanilla extract
1-2 teaspoons fresh grated orange peel
4-6 tablespoons fresh squeezed orange juice
Beat the butter until light and fluffy. Add in the powdered sugar a little at a time and beat on low (so it doesn't fly everywhere). Beat in the vanilla and orange peel. Add the orange juice a few tablespoons at a time for taste and consistency. Note: I used a little over 6 tablespoons and it had a nice flavor, but the consistency was a little loose.