Showing posts with label whipped cream. Show all posts

Monday, August 14, 2017

Key Lime Tart


One of my favorite desserts (although there are a few), is key lime pie. I had made little key lime pie tartlets a long time ago and I was due to try making something with key limes again. We had a big family dinner this weekend and I wanted to make a nice summer dessert. I used an Epicurious recipe that called for both key lime juice and a touch of lemon juice. 

I started by making the graham cracker crust from scratch. You can buy graham cracker crumbs by the box, but I find it quite easy to crush graham crackers in a gallon Ziploc using a rolling pin. I pressed the crust into my tart pan and baked it as directed.


Then to make the key lime filling...and this is when I remembered why I had not made key lime anything for a while. The key limes are tiny - about the size of my thumb and I needed to squeeze more than one container of these little guys. 


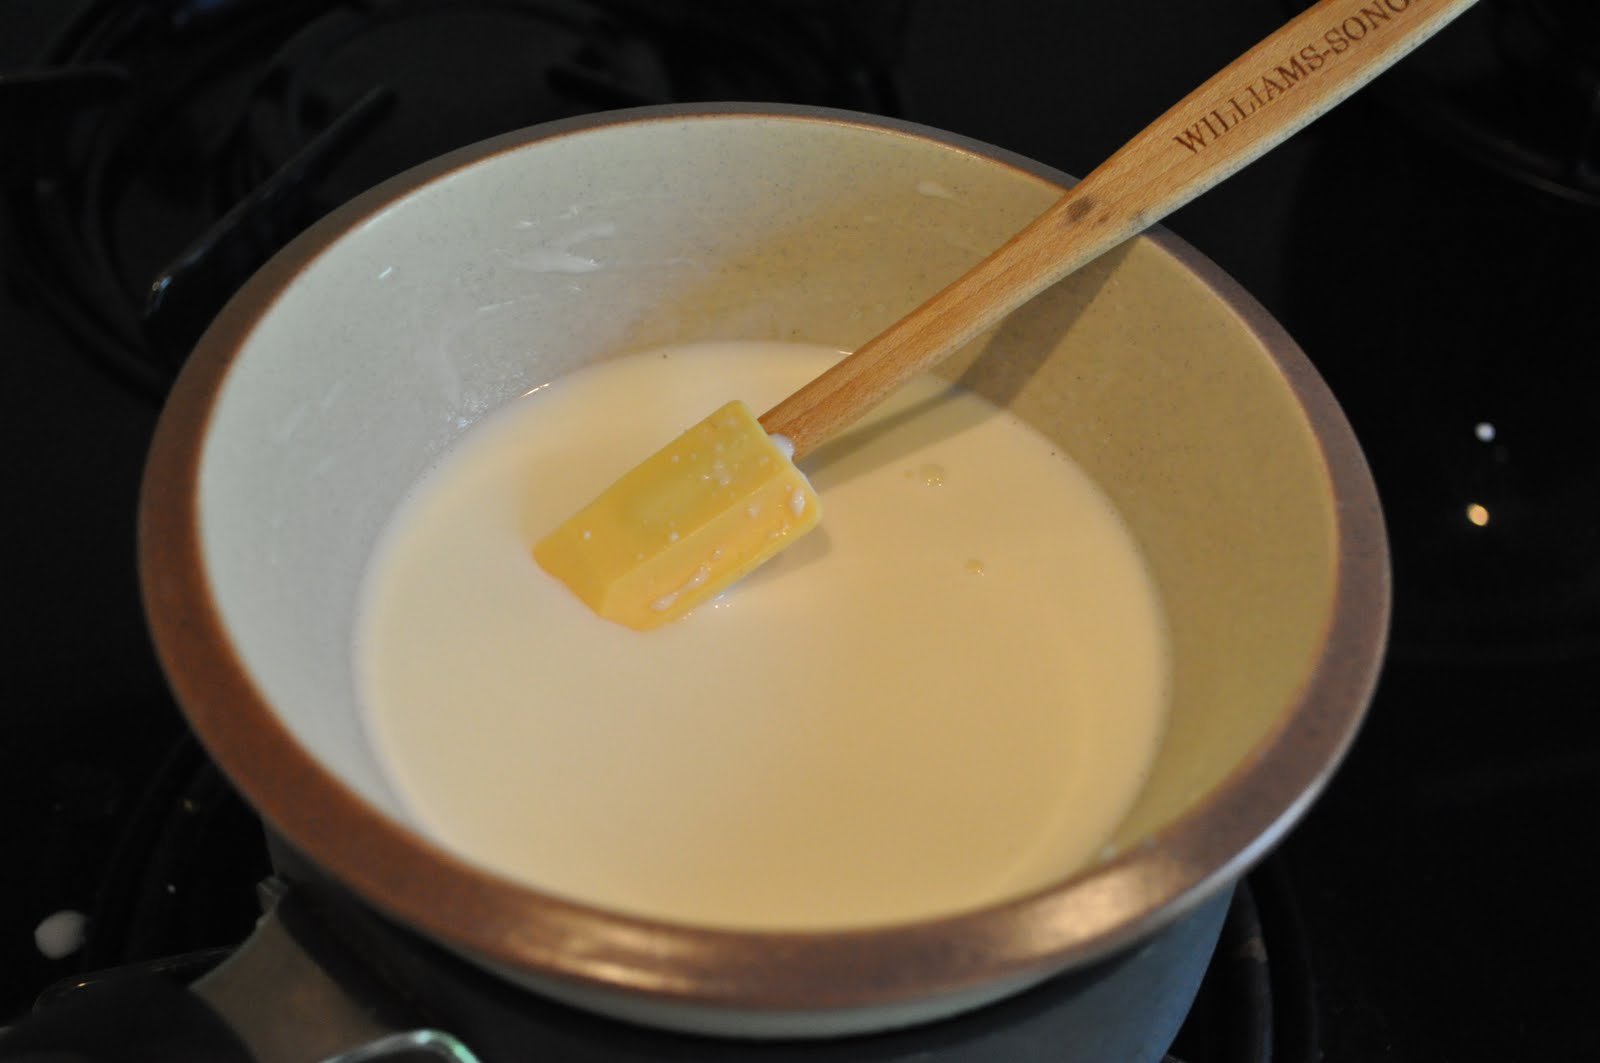
I prepared the filling, poured it into the tart shell, baked it and let it cool. I wanted to use some whipped cream to put in top and looked into making stabilized whipped cream for the first time so it would hold its shape when I piped it.

I was fairly pleased with how it turned out and only hoped the crust would stay in tact when I removed the outside of the tart pan. 


Phew - it did...and yes, life is short, so eat dessert. I don't indulge too much or every day, but all in moderation.


I grated some key lime zest on the tart and cut a piece for each family member to enjoy. 
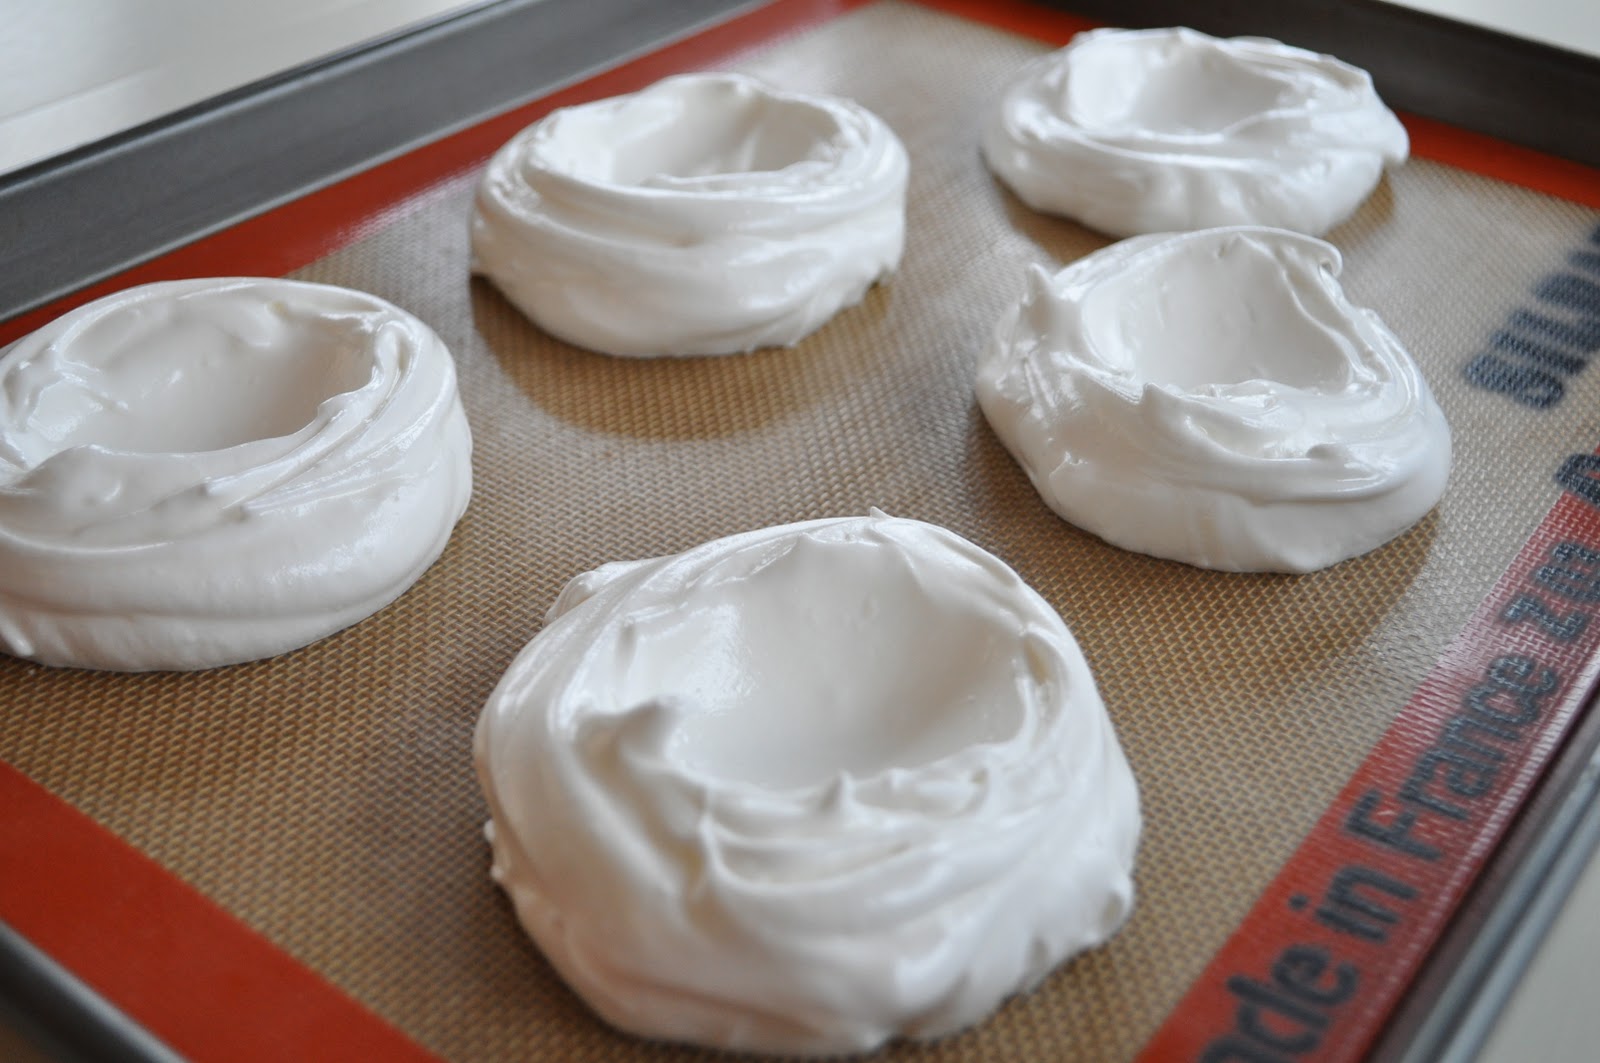

Sunday, November 6, 2016

Tres Leches Cake


I'm not so much a chocolate cake person, so the idea of a vanilla cake soaked in creamy milk sounds amazing to me. It's reminiscent of tiramisu but without the espresso powder and a bit more creamy.

Tres Leches is translated to "three milks" but "tres leches" sounds so much more fancy, so the entire world outside of Latin America is going with this term. The three milks include 1) evaporated milk, 2) sweetened condensed milk and 3) heavy cream. Those are the tres leches that you use to soak the cake in. If you want to be technical about it, there are actually quatro leches as there is a fourth milk used in the cake itself. Either way, this cake is not for the lactose intolerant.

I searched around for different recipes and when we planned another family Mexican dinner night, I made it for dessert. This Pioneer Woman recipe is what I went with and she has thorough step by step instructions on her blog.

I'll show you just a few steps. After baking the cake, you turn it out on a platter. I let it cool for a while and then mixed the milks to pour over and let it soak for an hour or so. 


After the milks soaked in completely, I whipped up the cream with some sugar and vanilla and spread it on top. 


It was the perfect dessert to follow taco night and it was a hit with the kids. What kid wouldn't want creamy cake with whipped cream and a cherry on top? I'm not a huge fan of the maraschino cherries, but they are a very pretty contrast to the stark white cake. So, enjoy dessert with a cherry on top. 


Tuesday, January 4, 2011

Chocolate-Espresso Lava Cakes


This dessert has been a staple in my family for the past 10+ years and we decided to make them on New Year's Eve this year.  This is the perfect rich and over indulgent dessert to have on the last day of the year! Plus, with the espresso, they were the perfect pick-me-up to try to keep us awake to ring in the New Year!  I know...it's so lame that I have a hard time staying up that late, but true.

It's a dense cake with a rich chocolate flavor that is intensified by the espresso.  The best part?  The lava!  It has the perfect gooey chocolate center from the melted chocolate chips.


I do like individual desserts and these have to be so everyone has their own portion of molten lava.  You just pile on the chocolate chips in the center of the batter.


Then press them in with the back of a spoon to make sure it melts inside the cake as it bakes.


They puff up a little bit and almost look like chocolate souffles.  But, no, these are rich chocolate cakes that are crispy on the outside edges and filled with hot melted chocolate on the inside. 


Because they are so rich, the addition of the whipped cream is a refreshing way to top it off.  The recipe calls for adding espresso powder to the whipped cream, but I like it plain and just enjoy the addition of the espresso powder in the cake itself. You decide on the whipped cream, but a glass of milk is essential!


Recipe for Chocolate Espresso Lava Cakes

Ingredients for cakes:
1 cup all-purpose flour
3/4 cup unsweetened cocoa powder
5 t. instant espresso powder (or instant coffee powder)
1 1/2 t. baking powder
1 cup (2 sticks) butter, melted
1 cup sugar
1 cup (packed) golden brown sugar
4 large eggs
1 1/2 t. vanilla extract
1/4 t. almond extract
12 tablespoons semisweet chocolate chips (about 4 1/2 oz.)

Ingredients for whipped cream:
1 cup chilled heavy whipping cream
3 T. powdered sugar
1 t. espresso powder

Directions for cakes:
Sift the flour, cocoa powder, espresso powder and baking powder into a medium bowl.  Place the butter in a large bowl; add both sugars and whisk until blended. Whisk in eggs one at a time, then vanilla and almond extracts. Whisk in dry ingredients to wet.  Divide batter among 6-8 greased ovenproof mugs or ramekins and place chocolate chips into the center of each cake and press chips into batter with the back of a spoon. Refrigerate for at least one hour (or up to one day). Preheat oven to 350 degrees. Bake cakes uncovered until cakes are puffed and crusty and tester inserted into center comes out with thick batter attached.  Place warm ramekins or mugs on a plate to serve with whipped cream.

Directions for whipped cream:
Combine the cream, powdered sugar and espresso powder in a medium bowl and whisk until peaks form. Spoon a generous dollop on top of the cake!

Friday, November 5, 2010

Meringue Nests with Blackberries and Cream


Aren't these blackberries gorgeous?  They were on sale at the market and while I used some of them in the apple-blackberry crisp I made last weekend, I still had some to use.  My mum came to visit again and I thought I'd try something special for dessert one evening.  We made crispy, airy, sweet meringue nests with these luscious blackberries and fresh whipped cream.  I guess this is sort of a version of a pavlova, but mini ones. I think pavlovas are typically one large meringue cake with cream and fruit. These are individual little nests made of meringue.  I guess I just like the idea of a nest anyway...it makes everything sound cozy.

The meringue is very easy to make.  I've made it before, but this was my first attempt at nests. I whipped the egg whites, sugar and some vanilla and got this thick glossy meringue.


I spooned these heaping mounds of meringue on the Silpat.  The original recipe called for eight nests and I didn't seem to have room, so I had five pretty large nests.


Then, I took the back of a spoon to hollow out the center (with still leaving a layer in the nest) and smoothed the edges a bit. 

Here they are ready to bake. I know many people pipe them onto the baking sheet, but I sort liked the homemade swirled look to mine.


After two hours of baking at just over 200 degrees, they were all ready and peeled right off the Silpat.  I washed the berries and let them dry so that they wouldn't make wet pools in the meringue nests when I put them together.


Our evening treat was ready with a bunch of berries nestled in the meringue and topped with a big dollop of whipped cream.  It's a very simple dessert that would be easy to prep ahead of time and use with all kinds of fruits.  The flavors were uncomplicated, yet fresh and sophisticated.


Recipe for Meringue Nests


Ingredients:
3 egg whites
175 g/6 oz caster (superfine) sugar
A few drops of vanilla essence (extract)

Lay a Silpat or piece of parchment on a baking (cookie) sheet. Whisk the egg whites until stiff. Add 1 tbsp of the sugar and the vanilla and whisk again until stiff and glossy. Gradually whisk in half the remaining sugar, then fold in the remainder with a metal spoon. Spoon five to eight round heaps of the mixture a little apart on the baking sheet and hollow out slightly in the centers to form nests. Rough up the mixture slightly round the tops. Bake in a preheated oven at 225°F for 2-3 hours or until crisp but still white. Remove from the oven and leave to cool. Carefully lift off the paper and store in an airtight container.

Wash the fruit to fill them in advance and dry in a bowl with paper towel.

For the whipped cream, use 1 cup of heavy whipping cream with a tablespoon of caster sugar and whip on high until thick and creamy.

Wednesday, May 5, 2010

Berry Good Layer Cake

My husband's birthday was last weekend and I wanted to make him a special cake. I haven't tackled a layer cake for quite some time, so I questioned him about what flavors he wanted and researched recipes. He wanted a white cake with fresh strawberries in the filling and a whipped cream topping. I had fun looking through my cookbooks, iPhone apps and online for different recipes and came up with a light vanilla cake recipe, white chocolate buttercream and fresh strawberries for the filling and a whipped cream frosting. I referenced four different recipes to make the cake and had all my recipes and ingredients prepped and ready to go.


I started with preparing my springform pans. I used two 9" non-stick pans, but still buttered them using a pastry brush, put a circle of parchment on the bottom, buttered the parchment and then covered the inside with flour. There was no way my cake was going to stick!

The cake batter was made with cake flour and used only egg whites, which were whipped and folded into the batter to make it airy and light.
I filled my buttered and floured springform pans and they were ready to bake. I put them on cookie sheets just in case the batter seeped out (which I was happy it did not), but it still made them easy to take in and out when I was checking them. I was careful to turn them and switch racks part way through and made sure my cake tester came out clean. They were nice golden brown and I let them cool a bit before I took them out of the pans and peeled off the parchment. I also trimmed the tops off each of the cakes to make them flatter. I think I could have trimmed them a little more to make the layers even more flat and clean.

Now it was time to make the filling. I had used several egg whites for the cake and I was happy I didn't have to waste the egg yolks and used them for the white chocolate buttercream filling. I slowly cooked the egg yolks and sugar, then added in the white chocolate and cream to melt down. This mixture cooled and then I added the butter to make the buttercream. I would have liked this to be a bit more thick, but it was thick enough and tasted great.
I spread a layer of homemade strawberry preserves, a layer of the white chocolate buttercream, a layer of fresh strawberry slices, another layer of buttercream and then put another layer of strawberry preserves on the second layer that went on top of the top layer of buttercream. This is where it got a little messy.
Maybe I should have chilled it prior to adding the top layer, but I didn't think of this first and it was oozing a bit when I added the second layer. I was generous in how much filling I included, but in the end we agreed that there could have been even more. I think a lot of it soaked into the cake as well. I smoothed off the edges as much as I could and chilled the cake at this point before attempting to frost it.
For the frosting, I was concerned about using just simple whipped cream as it has so much moisture and I didn't want it to seep into the cake and be a watery mess. So I looked into making swiss meringue, but ended up finding a recipe for stabilizing whipped cream so it wouldn't do what I was worried about. This involved using unflavored gelatin that was dissolved and added into the whipped heavy cream along with some sugar and vanilla. The stabilized whipped cream was easy to make and amazingly easy to work with. I finished it off with a warm wet spatula to make a smooth glossy top. I did save some aside to pipe on top of the cake later, but that didn't work out as the gelatin did something during this time and wasn't as nice and glossy when I attempted to do this. So, I tried to smooth it out again as well as I could, but that's why it ended up looking a little messy, I mean homemade.
Since the piping on top didn't work out and I was a bit short on time before we wanted to put birthday candles in and sing, I simply smoothed it out as well as I could and added a few fresh berries to the top. Given a little more time, I would have put some shaved white chocolate on the top or sides and slice the fresh berries.
The cake was so nice and moist and had a great taste. I'd like to try using more filling next time and work with different fillings to mix up the flavors. I'd also like to work more with the decorating and get out the pastry bag to add a little more flair. However, most importantly, Sean said it certainly satisfied his request for his perfect birthday cake!

Wednesday, April 21, 2010

Birthday Souffle


When I recently visited a friend for her birthday, I wanted to make her a special treat. I simply asked her what her favorite flavor is. She mentioned caramel and I recalled a recent Martha Stewart show where they made caramel souffle that looked amazing. So, we went to pick up the ingredients and one kids nap time and part of an evening later, we had gorgeous and perfectly risen caramel souffle's to celebrate her birthday.

The first step was to coat the souffle dishes with butter and turbinado sugar. We used the raw Maui sugar that you can get at any grocery store. It's so pretty and we hadn't even put the souffle in the dishes yet!

For the souffle batter you had to first make the actual caramel. I have not done this before and I was a little scared to cook sugar with nothing else in a hot pan, but it indeed cooked down and I just folded it in after it started to brown until it was all dissolved.
After the sugar was completely dissolved and caramelized, we added heavy cream and whole milk and ended up with this creamy caramel sauce. It smelled SO good!
Then, you mixed the egg yolks and sugar together and added a little flour and cornstarch until it was thicker. This was added to the hot caramel sauce to temper it slowly and then completely incorporated.
The caramel sauce and egg yolk mixture was cooked on the stove top again until it was nice and thick like the consistency of homemade pudding.
We left the cooked caramel "pudding" and the egg whites out to get to room temperature and took a dinner break. When we returned to making our dessert, we whipped the egg whites and added more sugar to make a meringue to create the airiness in the souffle. This is where I knew it would be tricky like the macarons I made last week as I didn't want to over mix the batter. I folded all the meringue into the caramel "pudding" and tried to make sure it was a smooth as possible without over beating. In fact, I probably could have mixed it in a little more.

The souffle dishes were filled almost to the top and we put them in the microwave for a few seconds as recommended to set the top of the batter so it would rise better.
I put the light on in the oven several times and we were SO excited to see they were rising!
We just had the caramel souffles on their own which was fantastic, but we were going to whip the remaining heavy whipping cream to have on the side. Martha's guest made caramel ice cream to have on the side, which would be interesting to try. We enjoyed some sweet Moscato wine that evening though and switched to some cold milk to have with our souffle as they were quite rich.
And, while a hot souffle isn't particularly easy to hold a candle, we put one in for the birthday girl.