Showing posts with label vanilla. Show all posts

Tuesday, January 4, 2011

Homemade Marshmallows


It's the middle of winter and my hands always seem to be freezing...whether I'm inside or out.  It is so comforting to warm up with a cup of a hot cocoa, tea or coffee. If the choice is hot cocoa, it just simply must be loaded with marshmallows. Kraft marshmallows are good, but homemade marshmallows are amazing! A few years ago, I attempted to make marshmallows for the first time and packaged them as gifts paired with homemade cocoa mix as Christmas gifts.  I made marshmallows again this past weekend with my little nephew who was giddy to lick the whisk and so excited to enjoy them melted in his hot cocoa after school the other day.

It starts with proofing plain gelatin in water until it solidifies.


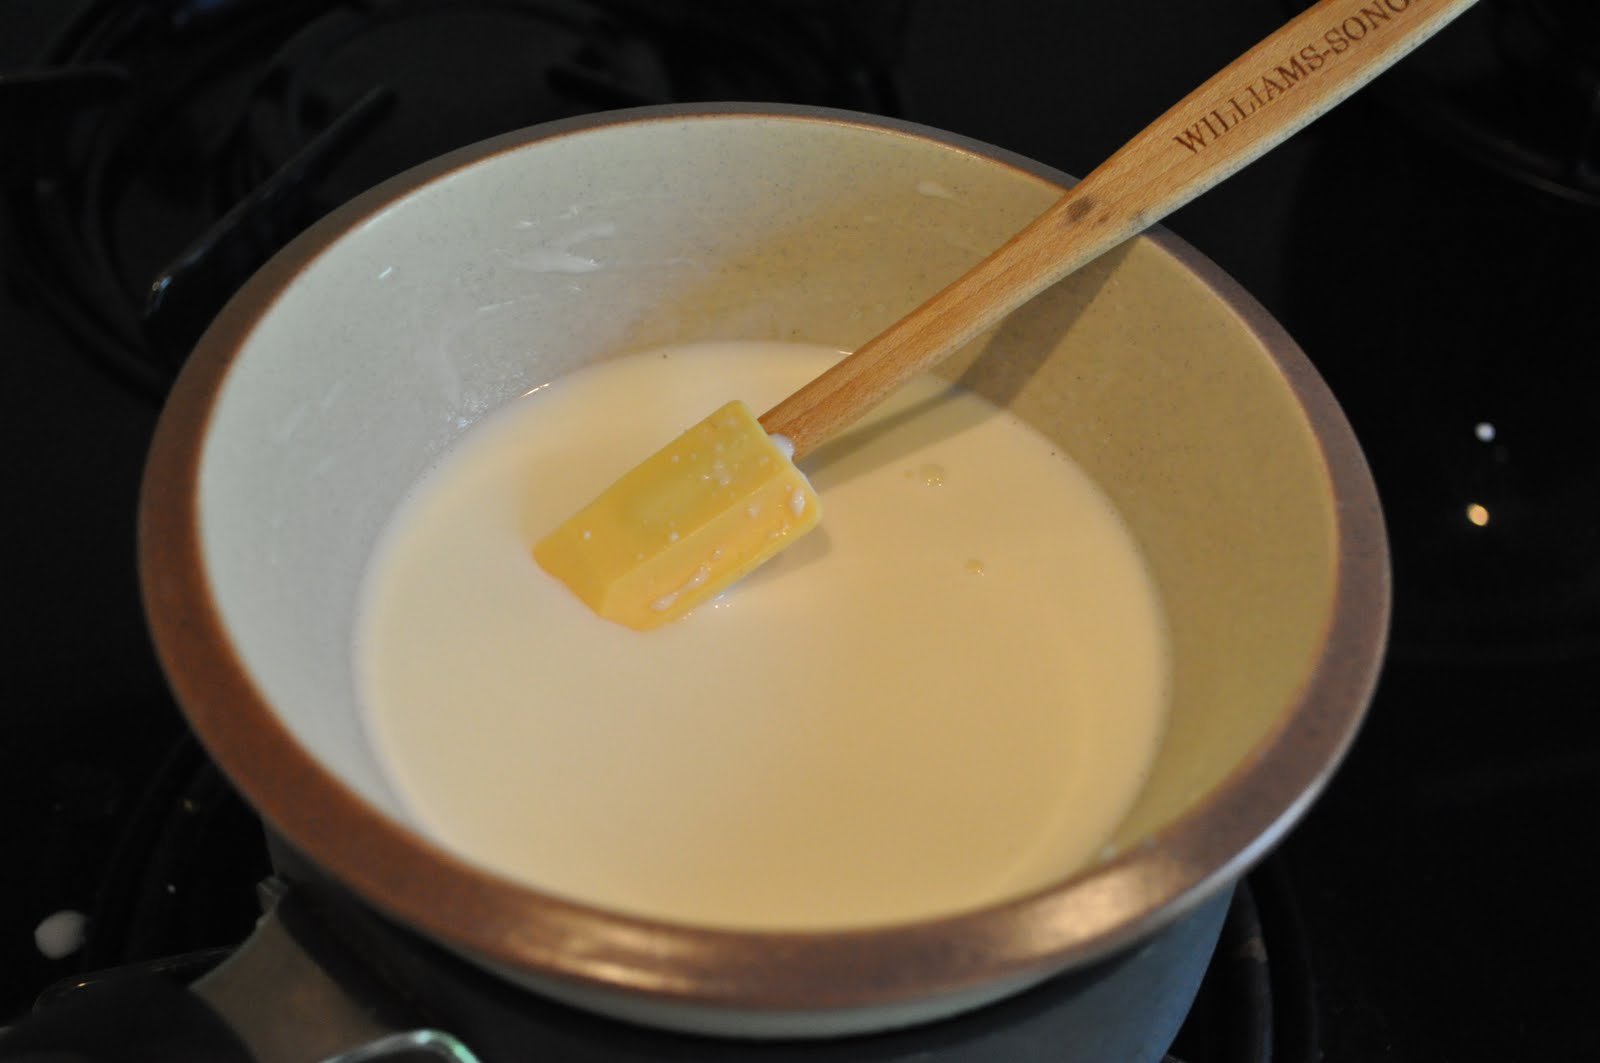
In the mean time, you dissolve sugar, water and corn syrup together.


And, then bring it to a rolling boil and get to 240 degrees.  We used a probe thermometer inserted through a whisk that works really well.


The sugar mixture goes into the gelatin and is whisked until you have this lovely white marshmallow goo. This is when my nephew could tell it looked like marshmallow and got really excited.


This mixture was poured out onto a highly greased cookie sheet to solidify for a good two hours.


It came away from the pan perfectly and just need A LOT of powdered sugar to keep it from sticking to the counter.


We tried to find some small cookie cutters to do some shapes and after a few sticky attempts, I cut out strips of marshmallow and cut them into dozens of little marshmallow squares.


We had good portion of the counter top completely covered with this mountain of marshmallow!


Now we have a large Ziploc bag full of these yummy little marshmallows.  I don't know that we'll drink enough hot cocoa to use them up this winter, so we may try to make some Rice Krispie treats with homemade marshmallows. Or, some yummy Smore's treats using them.


Recipe for Homemade Marshmallows
Adapted from Food Network

Ingredients:
3 envelopes unflavored gelatin
1 cup water (divided)
1 1/2 cups sugar
1 cup light corn syrup
1/2 t. salt
1 t. vanilla extract
Powdered sugar
Directions:
Butter a cookie sheet or square baking pan.  A smaller baking pan will make thicker marshmallows.

Put gelatin into the bowl of a stand mixer along with 1/2 cup of water and let it proof and solidify (approximately 15 minutes). 

In a small saucepan, combine the other 1/2 cup of water, granulated sugar, corn syrup and salt.  Cook, covered, over medium-high heat for 3-4 minutes or until the sugar is dissolved.   Uncover and clip a candy thermometer (or use a probe thermometer as shown above) and continue to cook the mixture until it reaches 240 degrees, approximately 10 minutes.  Once it reaches 240 degrees, remove from the heat immediately.

Turn the mixer on low speed and, while running, slowly pour the sugar syrup down the side of the bowl into the gelatin mixture. Once you have added all the syrup, increase the speed to high.  Continue to whip until the mixture becomes very thick and is lukewarm, approximately 12-15 minutes. Add the vanilla during the last minute of whipping.

Pour the mixture into the buttered pan and allow to sit for at least 2 hours.  Turn the marshmallow out onto a surface coated with powdered sugar. Cut strips or cut out shapes and continue using powdered sugar to coat all cut sides so they do not stick.

Store with powdered sugar in an airtight container or Ziploc bag.

Thursday, June 24, 2010

Strawberry Ice Cream


This is most likely my last strawberry creation (at least this week). Strawberry season will last a little longer and I may be further inspired to try something else....a tart perhaps. After three batches of strawberry freezer jam, cookies and several fresh eaten strawberries, I decided to preserve the final few quarts of strawberries with cream, milk, sugar and pure vanilla in the form of some homemade strawberry ice cream.

I soaked the strawberries in sugar and fresh lemon juice all morning and mashed the strawberries to get some good juice to color the ice cream. I mixed the cream, milk, sugar and vanilla with the fresh strawberry juice and crushed strawberries and put it in my Cuisinart ice cream maker.


When it first comes out of the ice cream machine after about 25 minutes, it has a nice soft gelato like texture.


We sampled some and it was AMAZING and the rest went in a freezer safe container to freeze more to enjoy later.

Wednesday, May 5, 2010

Berry Good Layer Cake

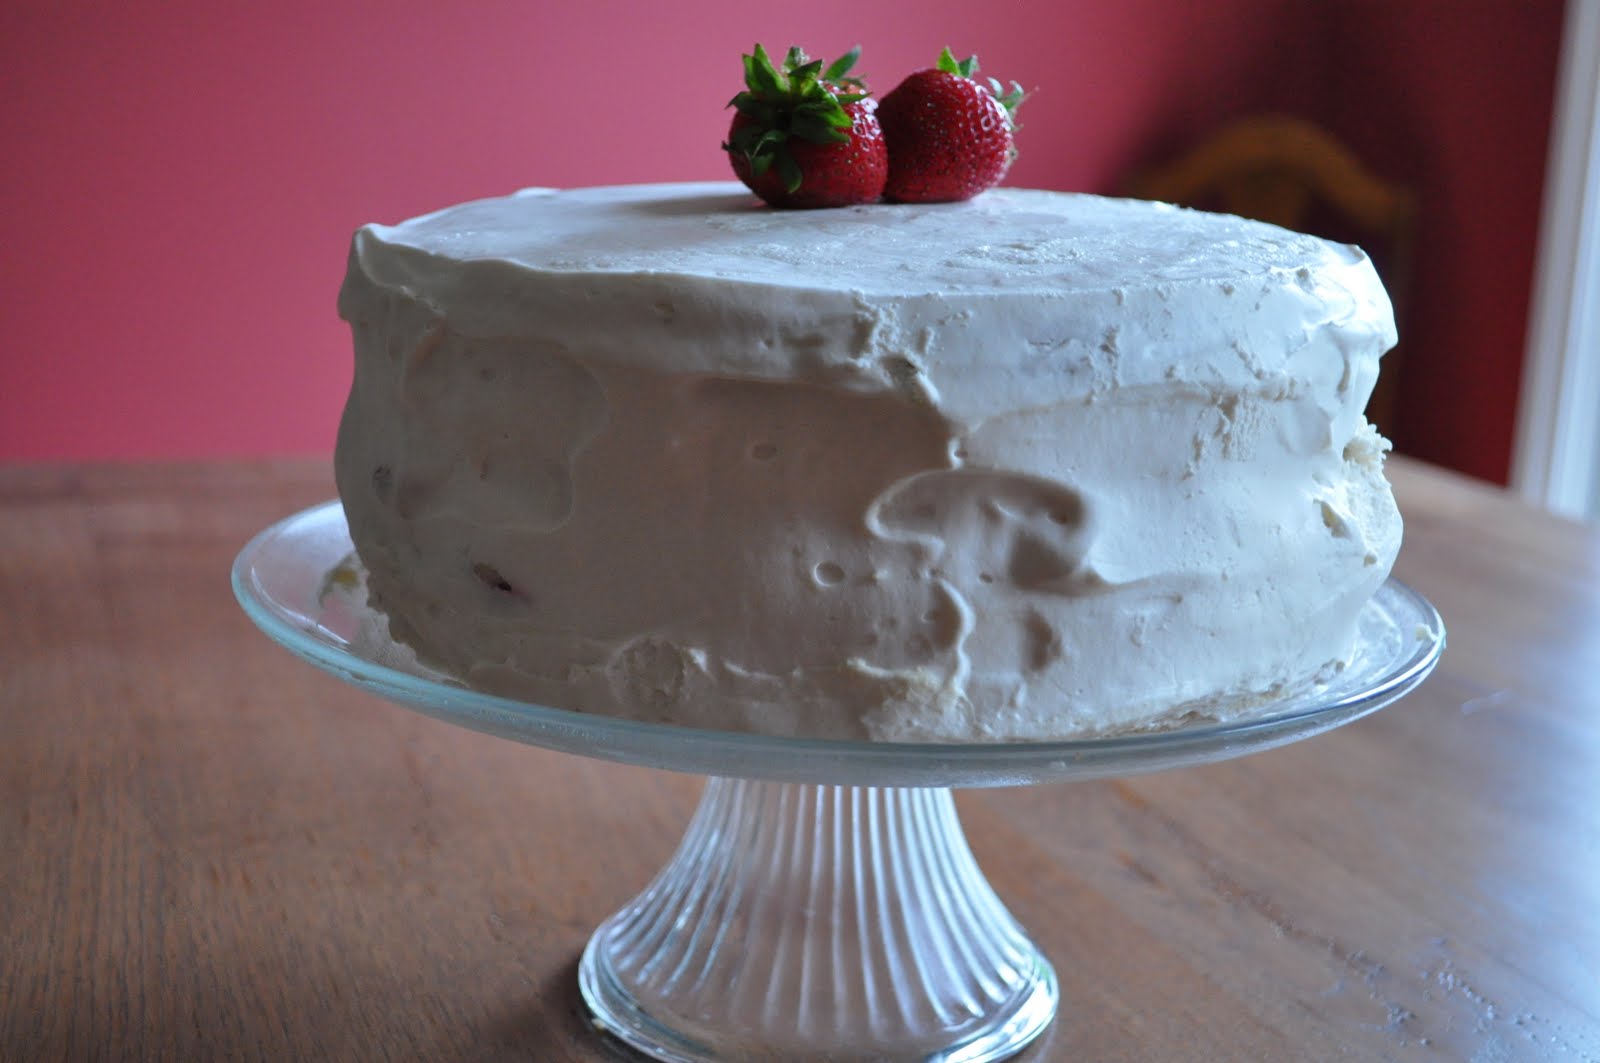
My husband's birthday was last weekend and I wanted to make him a special cake. I haven't tackled a layer cake for quite some time, so I questioned him about what flavors he wanted and researched recipes. He wanted a white cake with fresh strawberries in the filling and a whipped cream topping. I had fun looking through my cookbooks, iPhone apps and online for different recipes and came up with a light vanilla cake recipe, white chocolate buttercream and fresh strawberries for the filling and a whipped cream frosting. I referenced four different recipes to make the cake and had all my recipes and ingredients prepped and ready to go.


I started with preparing my springform pans. I used two 9" non-stick pans, but still buttered them using a pastry brush, put a circle of parchment on the bottom, buttered the parchment and then covered the inside with flour. There was no way my cake was going to stick!

The cake batter was made with cake flour and used only egg whites, which were whipped and folded into the batter to make it airy and light.
I filled my buttered and floured springform pans and they were ready to bake. I put them on cookie sheets just in case the batter seeped out (which I was happy it did not), but it still made them easy to take in and out when I was checking them. I was careful to turn them and switch racks part way through and made sure my cake tester came out clean. They were nice golden brown and I let them cool a bit before I took them out of the pans and peeled off the parchment. I also trimmed the tops off each of the cakes to make them flatter. I think I could have trimmed them a little more to make the layers even more flat and clean.

Now it was time to make the filling. I had used several egg whites for the cake and I was happy I didn't have to waste the egg yolks and used them for the white chocolate buttercream filling. I slowly cooked the egg yolks and sugar, then added in the white chocolate and cream to melt down. This mixture cooled and then I added the butter to make the buttercream. I would have liked this to be a bit more thick, but it was thick enough and tasted great.
I spread a layer of homemade strawberry preserves, a layer of the white chocolate buttercream, a layer of fresh strawberry slices, another layer of buttercream and then put another layer of strawberry preserves on the second layer that went on top of the top layer of buttercream. This is where it got a little messy.
Maybe I should have chilled it prior to adding the top layer, but I didn't think of this first and it was oozing a bit when I added the second layer. I was generous in how much filling I included, but in the end we agreed that there could have been even more. I think a lot of it soaked into the cake as well. I smoothed off the edges as much as I could and chilled the cake at this point before attempting to frost it.
For the frosting, I was concerned about using just simple whipped cream as it has so much moisture and I didn't want it to seep into the cake and be a watery mess. So I looked into making swiss meringue, but ended up finding a recipe for stabilizing whipped cream so it wouldn't do what I was worried about. This involved using unflavored gelatin that was dissolved and added into the whipped heavy cream along with some sugar and vanilla. The stabilized whipped cream was easy to make and amazingly easy to work with. I finished it off with a warm wet spatula to make a smooth glossy top. I did save some aside to pipe on top of the cake later, but that didn't work out as the gelatin did something during this time and wasn't as nice and glossy when I attempted to do this. So, I tried to smooth it out again as well as I could, but that's why it ended up looking a little messy, I mean homemade.
Since the piping on top didn't work out and I was a bit short on time before we wanted to put birthday candles in and sing, I simply smoothed it out as well as I could and added a few fresh berries to the top. Given a little more time, I would have put some shaved white chocolate on the top or sides and slice the fresh berries.
The cake was so nice and moist and had a great taste. I'd like to try using more filling next time and work with different fillings to mix up the flavors. I'd also like to work more with the decorating and get out the pastry bag to add a little more flair. However, most importantly, Sean said it certainly satisfied his request for his perfect birthday cake!

Friday, April 30, 2010

Spring Cupcakes


I had found these pretty tulip inspired baking cups recently and thought I'd make some spring cupcakes to adorn with my pretty marzipan tulips and also try practicing some piping with some of the new pastry tips I found.
I used my favorite vanilla cake recipe from Billy's Bakery in New York. It's light and fluffy with a great vanilla taste. I made this same recipe for the vanilla cupcakes we had for Audrey's birthday party last year. It's very easy to make with mixing dry ingredients together and adding the wet ingredients to mix in the kitchenaid. It's makes such a glossy and smooth batter.
The recipe makes around 30 cupcakes and I filled all my tulips papers (it came in a pack of only 24) and also made an extra tray of 6 with some pretty pale pink papers. I considered these the test batch! When you put the batter in the tulip papers, the petals folded in a bit and looked so pretty!

Here they are out of the oven. They rose nicely and the only thing that annoyed me was you can see where the paper soaked in some oil from the batter, but the tips are dry. They also came out of the pans nice and held their own.

I made my favorite vanilla buttercream frosting and found it easy to not only put the pastry bag in a cup to fill it, but I folded the edge of the bag over the side of the glass so it wasn't as messy.


With the tulip papers, they probably weren't the best cupcakes to practice piping, but I was up for the challenge. I used a very large star tip and put a nice big swirl of light purple buttercream on top of each one. For the ones that I put the marzipan tulips in, I just spread some of the frosting on top so the tulip would stand out.


Friday, February 5, 2010

A (Pretty) Good Latte


I went to Mary Ann's Chocolates today in East Grand Rapids to pick up a few treats. I was delighted when they handed me my vanilla latte to see it had this pretty fern design they put on the top. Most places just froth the milk, pour it in and hand it over, but they actually took the time to finish it off with flair. It's not only pretty, but it's the best latte I've had in a while. Now that I'm back home and Audrey is napping, I'm going to sit in front of the fire with my book, enjoy my chocolate truffle I got there and finish my latte.