

What ended up as this gorgeous heart shaped cookie glistening with sugar did not start out so pretty. In fact, it started out as a mound of lifeless looking dough that I hoped to turn into puff pastry over the course of a few days to then transform into these rolled heart shaped cookies known as "Palmiers."
It seems as if I'd try to make these pretty little heart shaped cookies for Valentine's day, but the true reason for me making these this month is for my Nan's birthday. Palmiers are her favorite pastry and something I always remember her choosing for a treat. In fact, when I lived with her during college in England, I had several trips to France and would always return home with a bag of Palmiers from one of the French patisseries. They are usually made quite large there, but I wanted to start out small and I love the petite version of these delicate cookies.
You can make these using puff pastry sheets purchased from a grocery store, but I wanted to try to start from complete scratch and actually make my own puff pastry. I used the puff pastry guide in my James Peterson "Baking" cookbook and proved quite helpful.
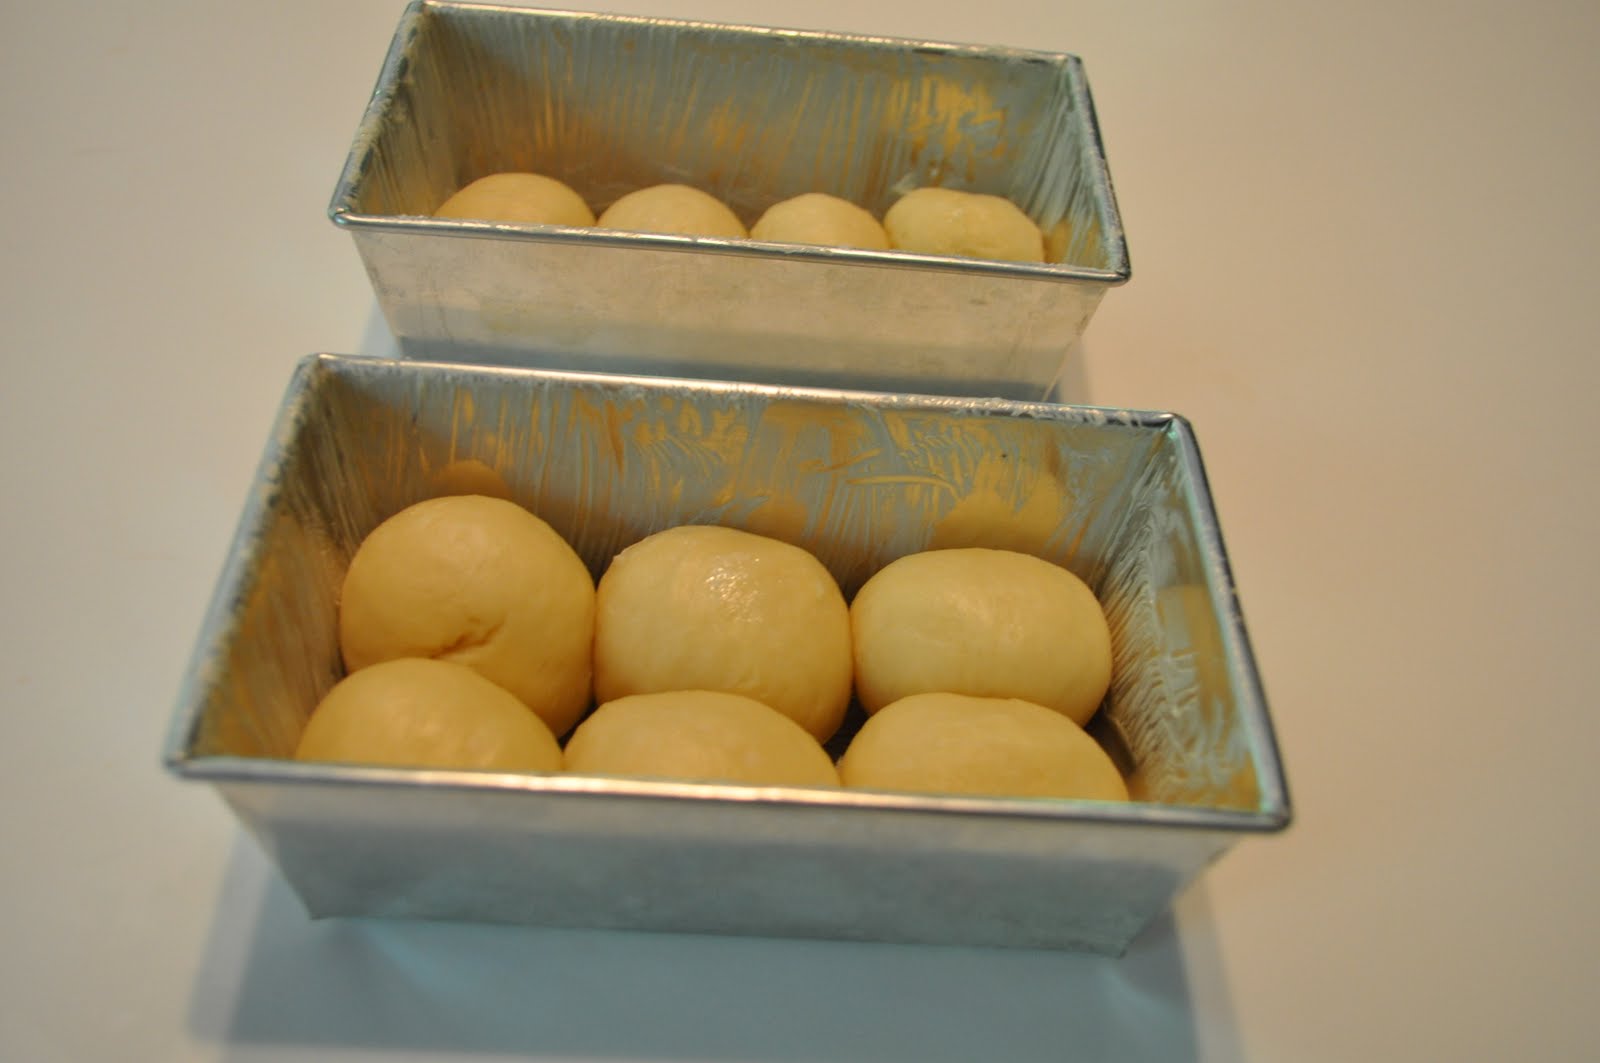
Here is the mound of dough that I started out with which is sans butter at this point. You scored the top of the dough and let it rest in the refrigerator overnight.

The next day, the scored pieces from the top were folded out and then rolled out. I kneaded the butter into a nice square shape in plastic wrap.


The square of butter was placed in the middle and the dough folds were wrapped around the butter like a little package.


The dough was rolled out to evenly distribute the butter and then folded over a few times before refrigerating again so the butter could solidify more before continue to roll.


The dough was rolled and turned seven times with chilling in between before rolling out the final product of puff pastry. I was hoping I had folded it enough and the butter was even throughout, but I wasn't too sure at this point.


To make the palmier cookies, I rolled out the final dough in granulated sugar and measured it to get a rectangle of at least 9 x 14.


The sugar was so glittery on the ivory dough and I was happy to see all the layers in the dough.

I always thought these cookies were individually shaped into hearts so whoever came up with this method for making these is a genius. The dough was folded in twice with generous sprinklings of sugar in between. Then it was rolled together and placed on its side.


There is the heart shape we're looking for!

The cookies were sliced about 1/4" thick from this log of folded puff pastry and placed on a parchment lined baking sheet.


They baked very nicely and turned out a pretty golden brown with the shiny melted sugar in between the layers of pastry. I was happy that they baked so well as I wasn't sure if my smooshed looking slices would turn into pretty golden hearts like the book.


I hope Nan would be proud of these. I called her on her birthday to let her know I was making them especially for her and I have a cellophane bag of palmier cookies ready to be packaged and sent to Victoria road for her to enjoy.


 Meringues
